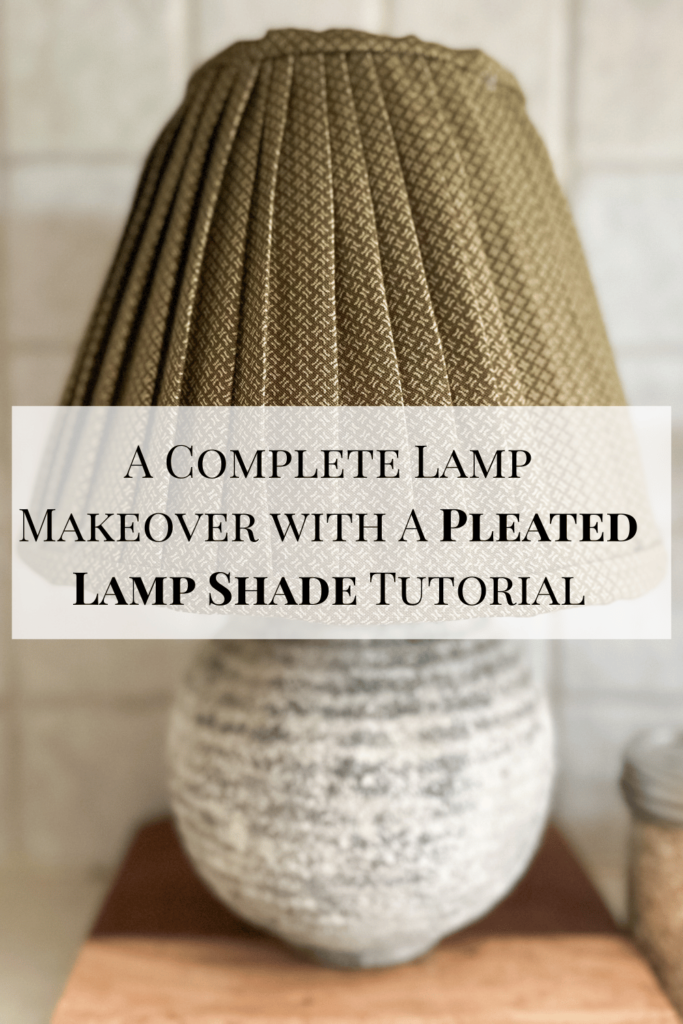
My Kitchen lamp was in need of a makeover. Sharing the steps on how to create a faux concrete/ ceramic base and making over the plain lampshade into pleated one.
It’s no secret that I love thrifting and when it comes to home décor, I found this cute little lamp with the shade for $5.99. I knew that I wanted to give it a little makeover and I am so excited to share it with you! Watch the Full Tutorial here!
Lamp Base Makeover
Material List
- Lamp base
- Black Spray Paint
- Two similar colors of regular paint
- Paint brush
- Dirt
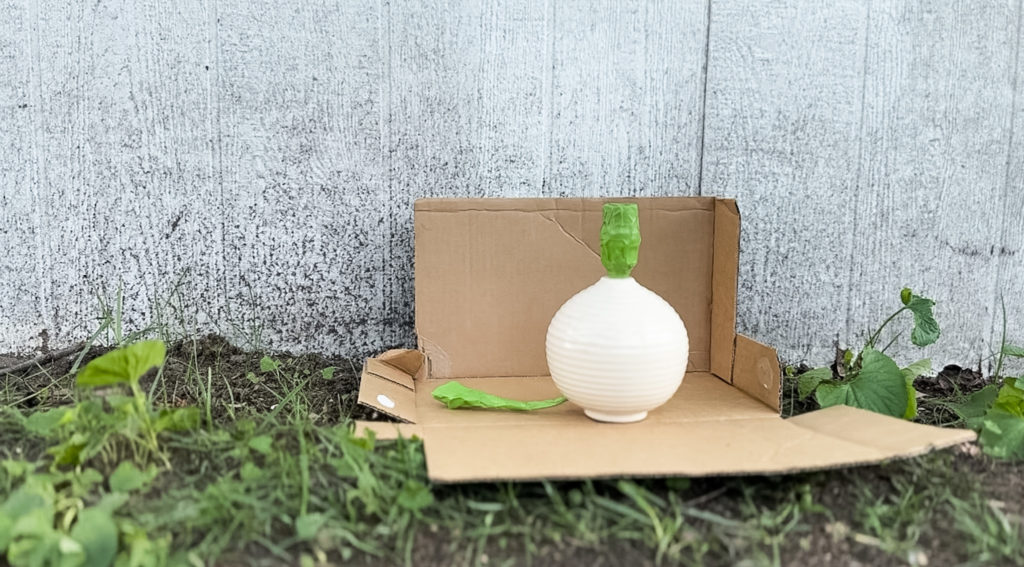
- Cardboard box
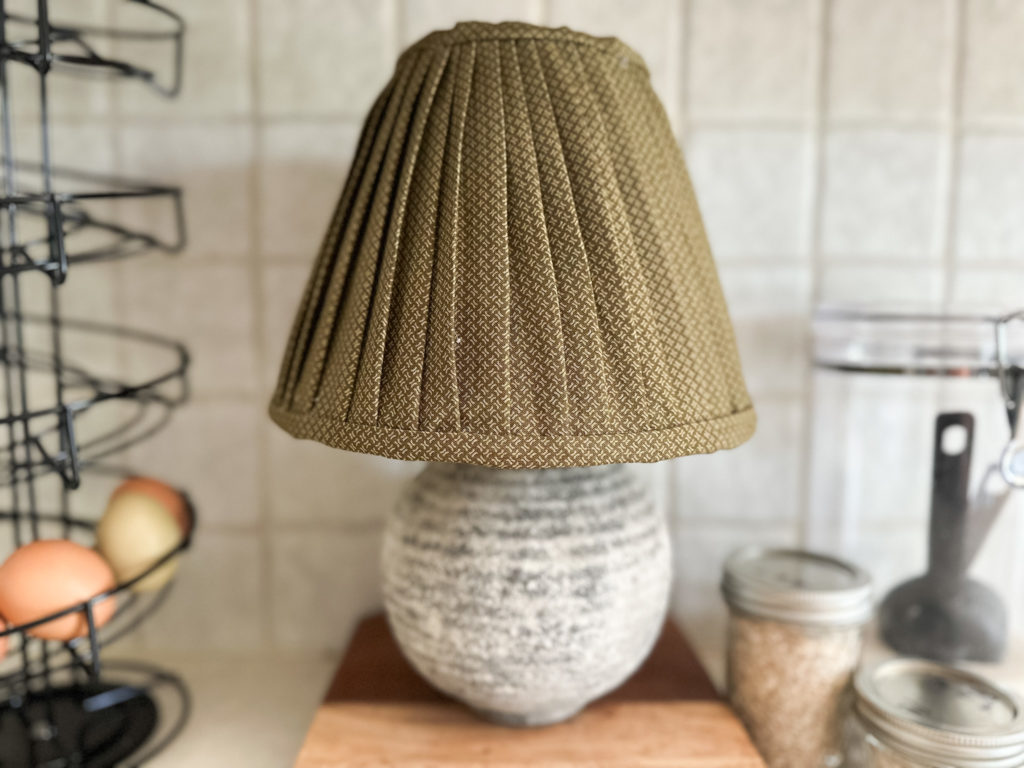
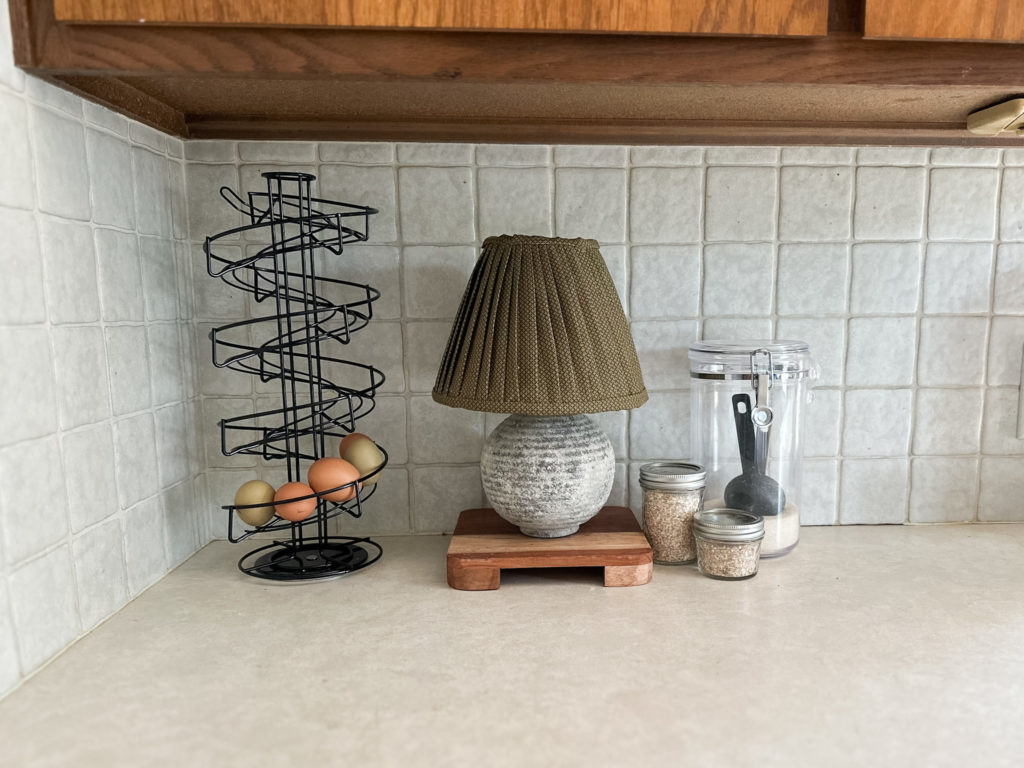
This little lamp truly is fine on its own but once it was living on the kitchen counter it seemed to blend in too much with the backsplash and the countertop even while on a wooden trivet. We will be using a similar process as the vintage inspired aged pottery look I’ve shared in the past.

The Process
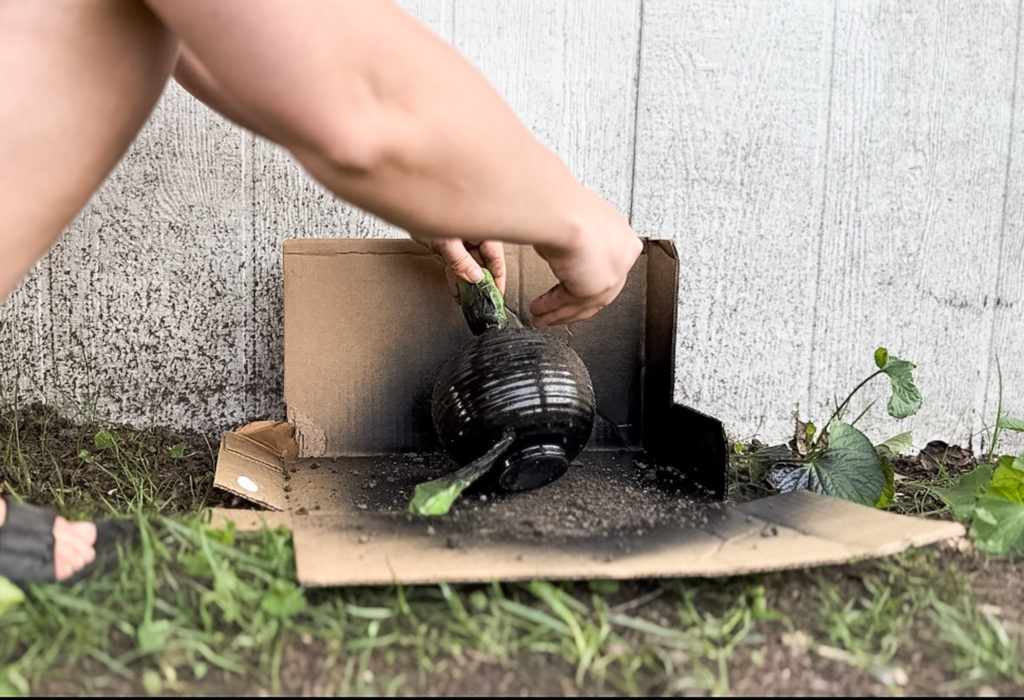
- First we will tape the electrical bits on the lamp base so they are completely covered as we do not want to get paint on them.
- Next we will lightly sand our lamp base. Just take any old piece of sand paper and lightly rough up the lamp. This will allow the paint to adhere to the lamp base.
- Then we spray on our black spray paint.
- While spray paint is still drying, sprinkle with dirt.

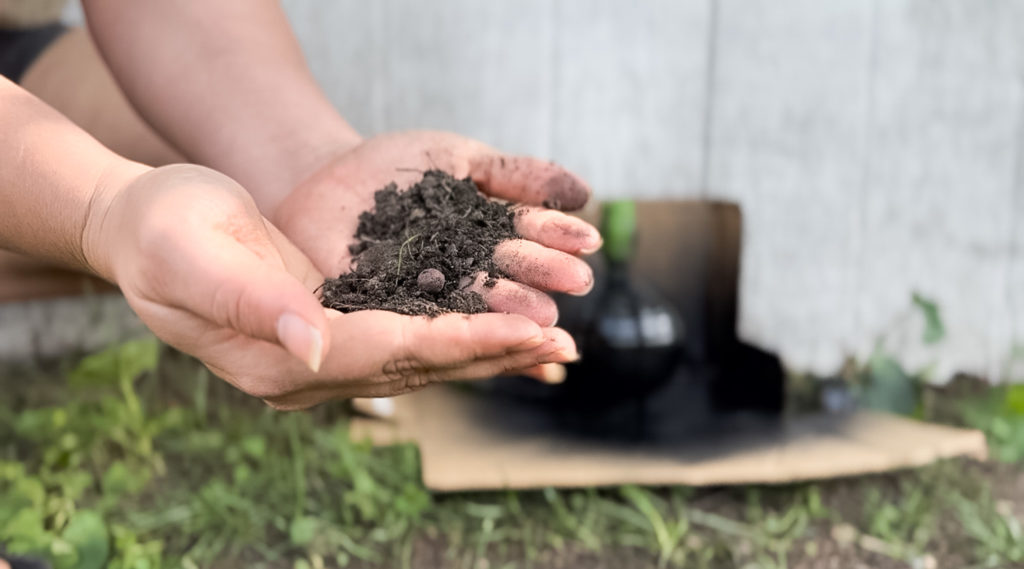
5. Once spray paint is dry, wipe off an extra dirt if you’d like less texture.
6. Begin painting over the black with your two tones. Mine are some left over sample paints from another project. I found the best way to apply the paint is by getting the brush barely wet and dabbing off the excess. Using the same dabbing motion to apply it to the lamp base.

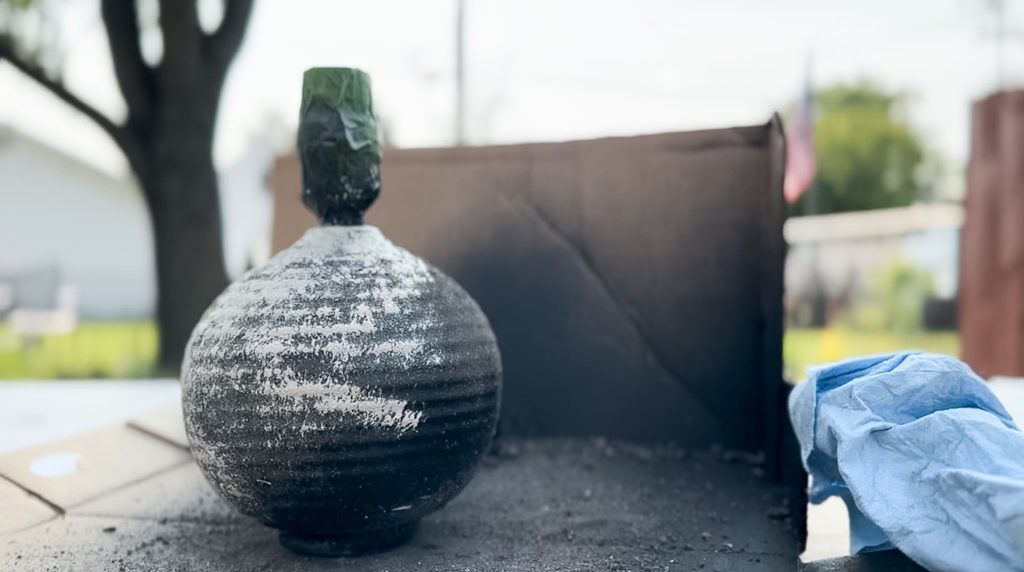
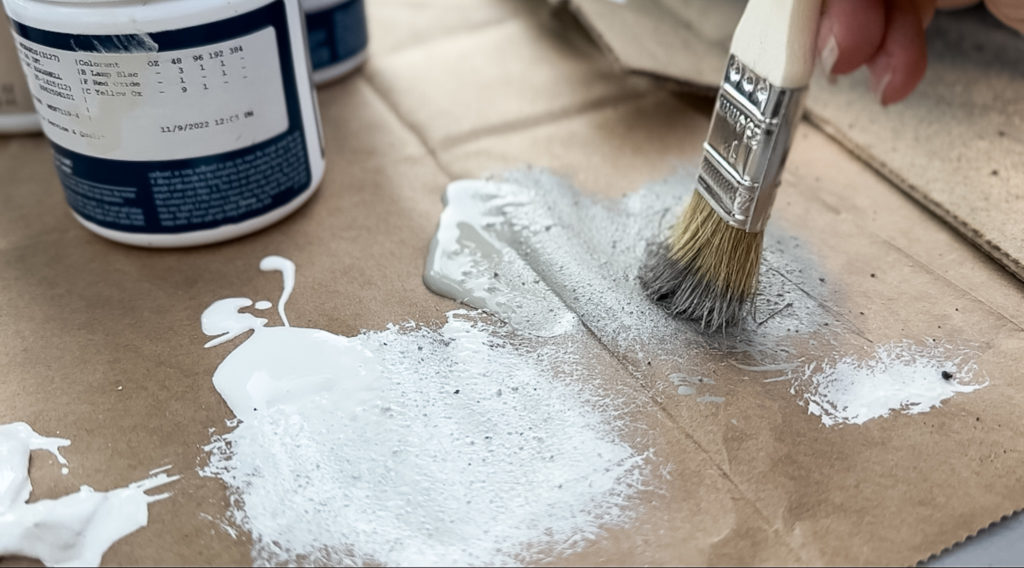
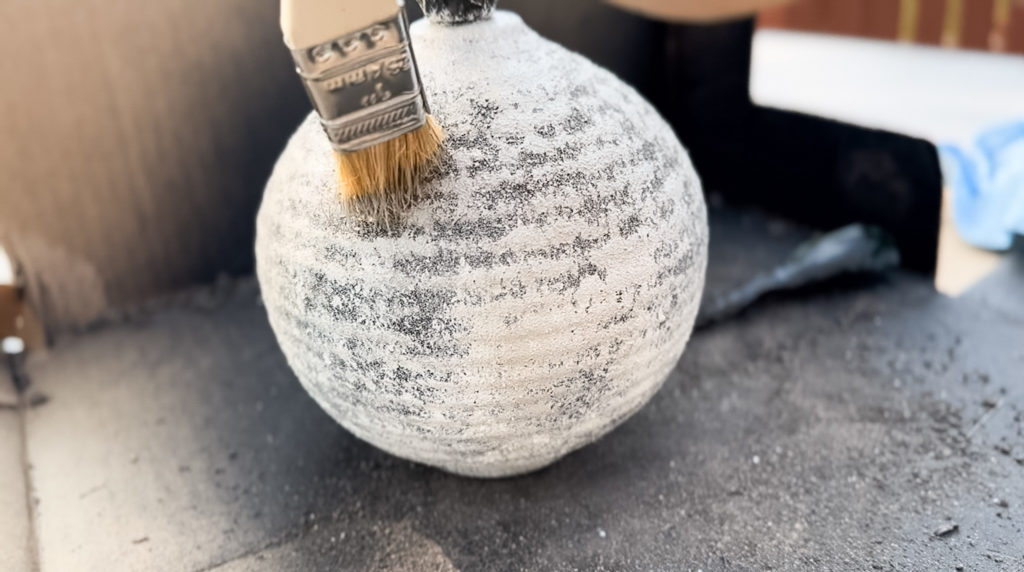
7. Continue applying your two tones of paint until you are satisfied with the look. (For me it is so hard to know when to stop.. lol)

If you are wondering how to make a pleated lampshade keep reading!
How to Make a Pleated Lamp Shade
Material List
- Lamp Shade
- Fabric about 3 times the length of the lamp shade
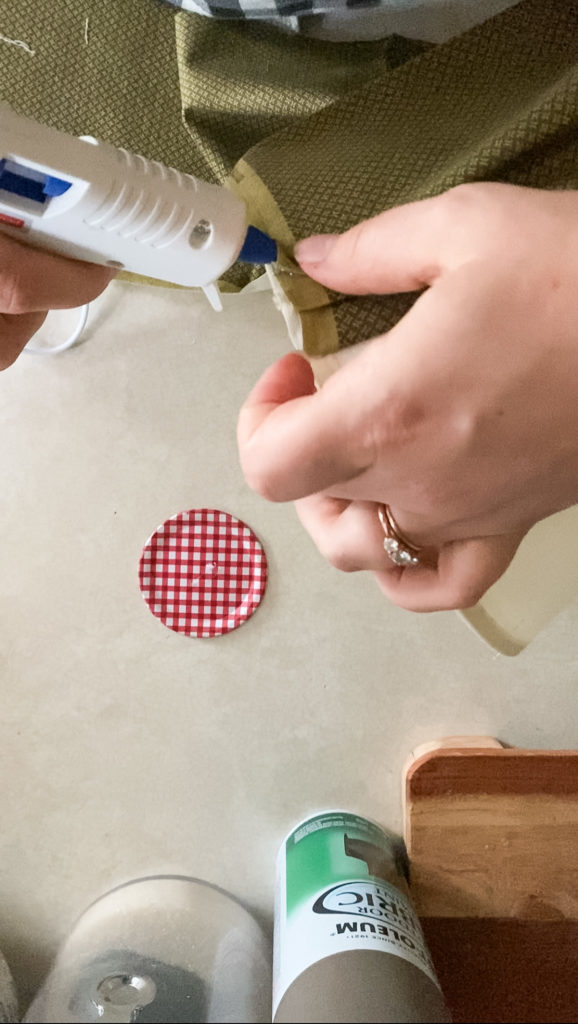
- Hot Glue Gun
- Iron
- First you will cut your fabric to size if it isn’t already. I used a rotary cutter and a ruler. but you can use scissors just as easily.
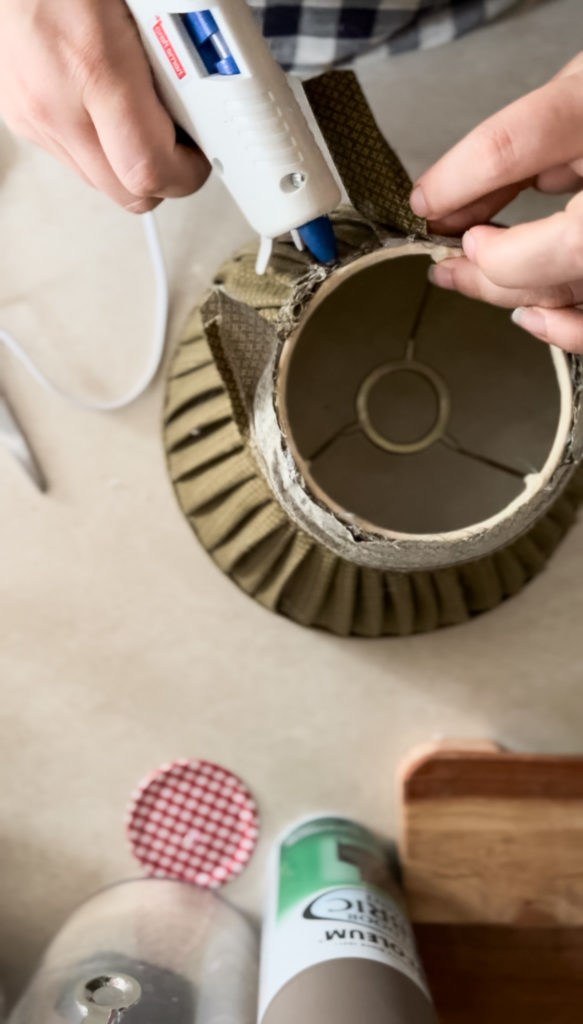
- Plug in your hot glue gun
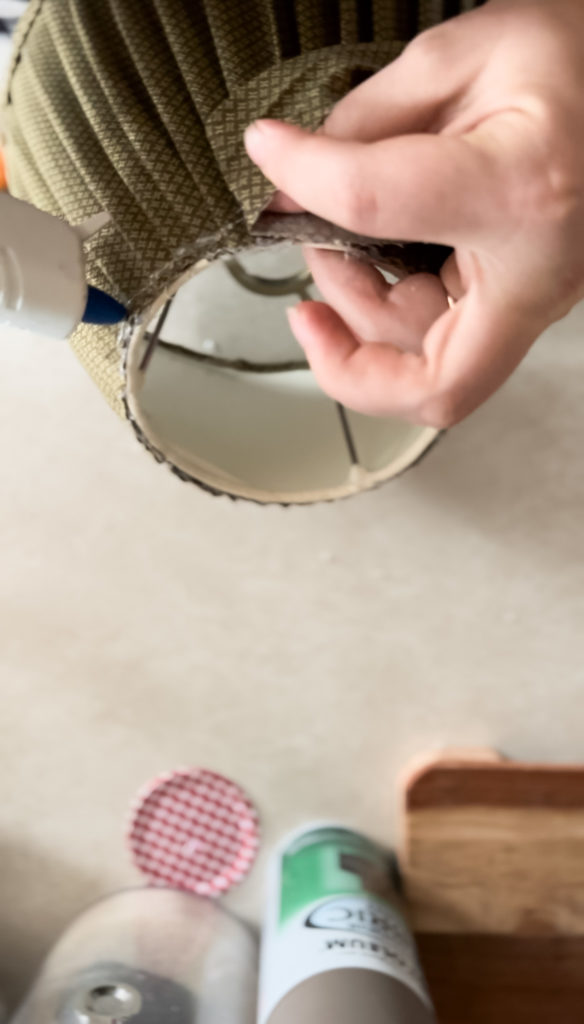
- Begin by turning your raw edge under and placing a hot glue dot on the top under the fabric. I started on the seam of the lampshade. and once the fabric is secure to the shade, hot glue the bottom edge.
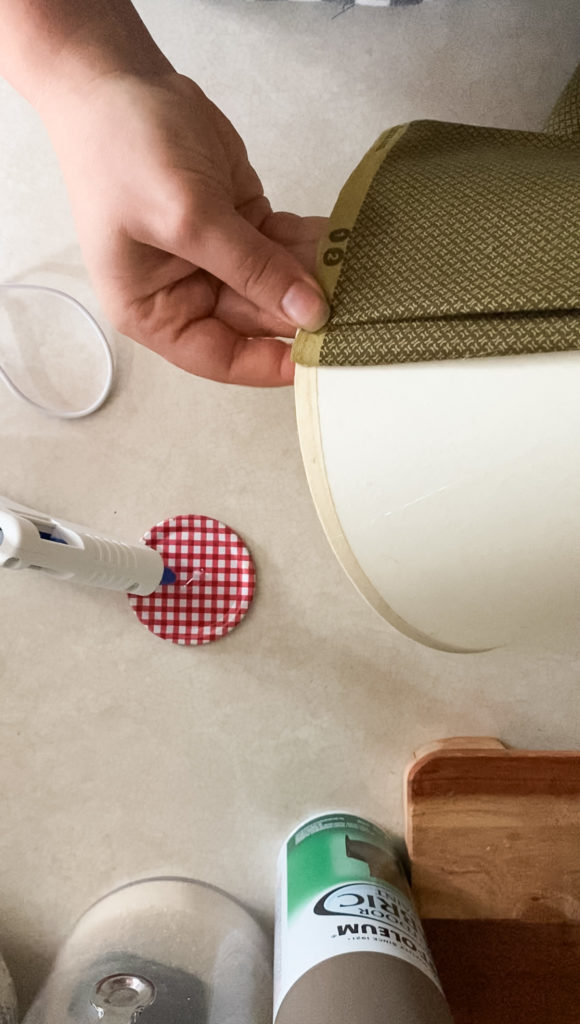
- Then Start on the pleats by folding the fabric onto itself to create the pleat and press the fabric firmly into the glue to secure it. Do this at the top of the shade and the bottom to secure both ends of the pleat. Be sure to dot a little glue behind the pleat as well so that it is held securely to the lampshade.
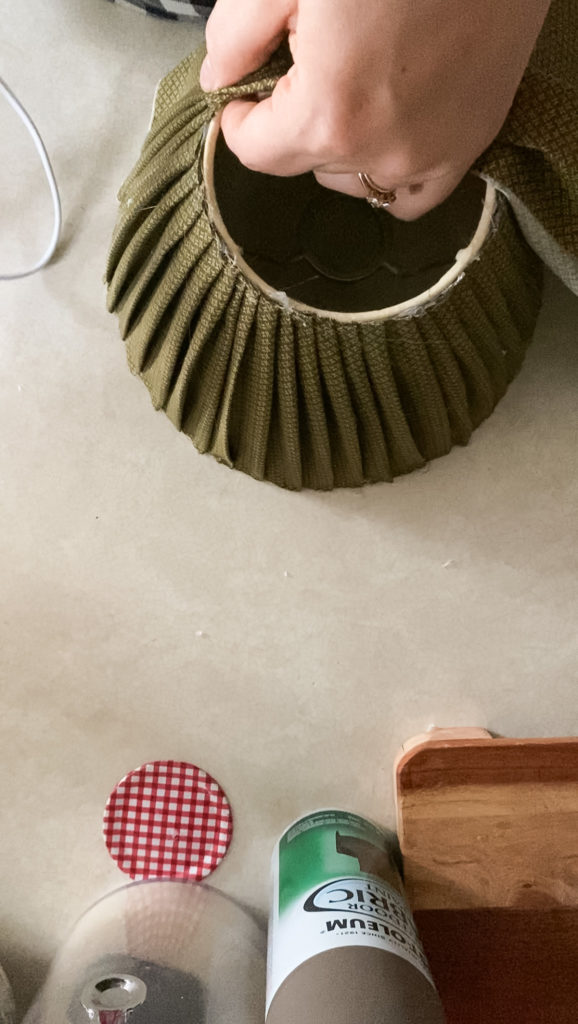
- Repeat Step 4 until you have gone all the way around the lamp shade. If you mess up a pleat you just rip it off the hot glue and try again. It is a very forgiving project.
- After the final pleat, trim the fabric and tuck the “tail” under the first pleat to hide it, securing it with glue along the seam.
- Then we will add a bias binding strip to the top and the bottom to hide our raw edges.

Now our lamp has a whole new look! Such a fun and inexpensive way to switch things up! I love projects that are simple and use things most of us have on hand or can be used for future projects!
Want to see the full video tutorial complete with some satisfying decluttering? Watch now!