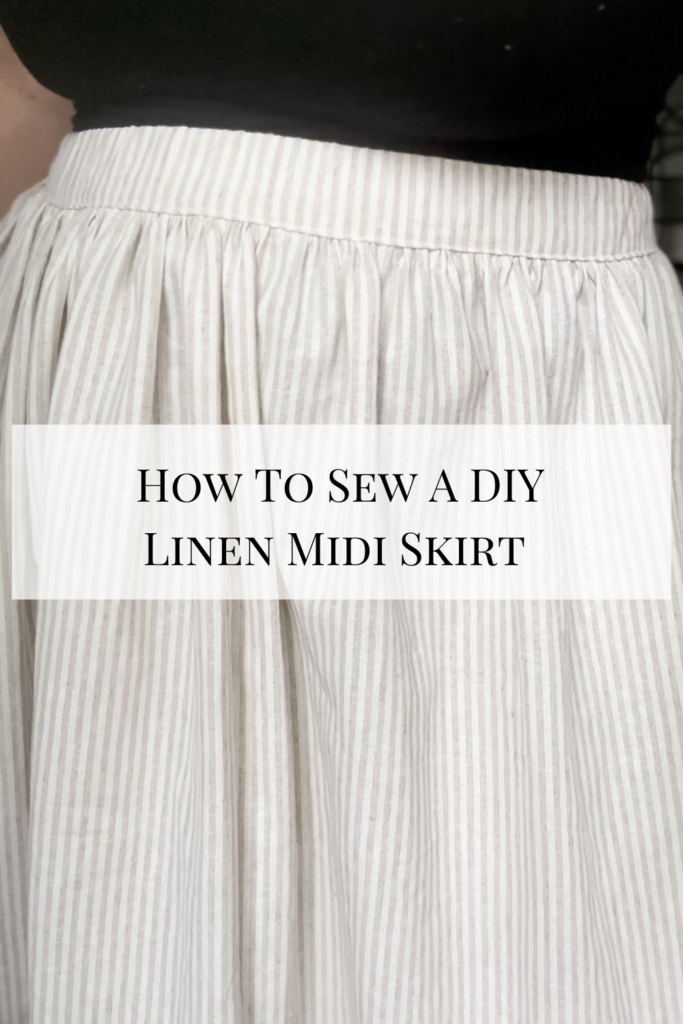
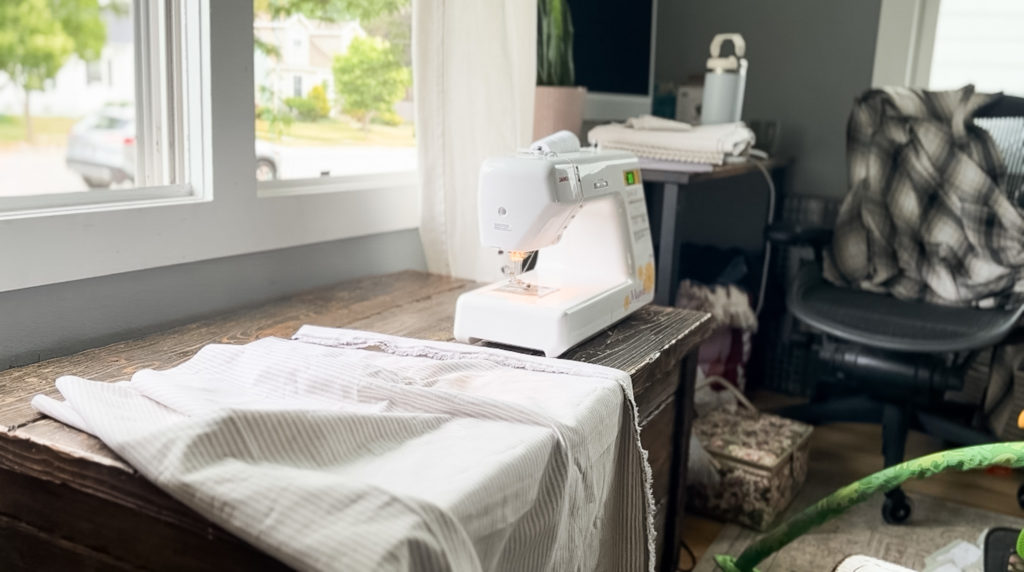
Here is a step by step walkthrough on how to sew a linen midi skirt. This tutorial will be posted to my Youtube as well.
What you’ll need is Linen Fabric, elastic for waistband, pins, a sewing machine, and an iron. Also an afternoon set aside to enjoy the process!
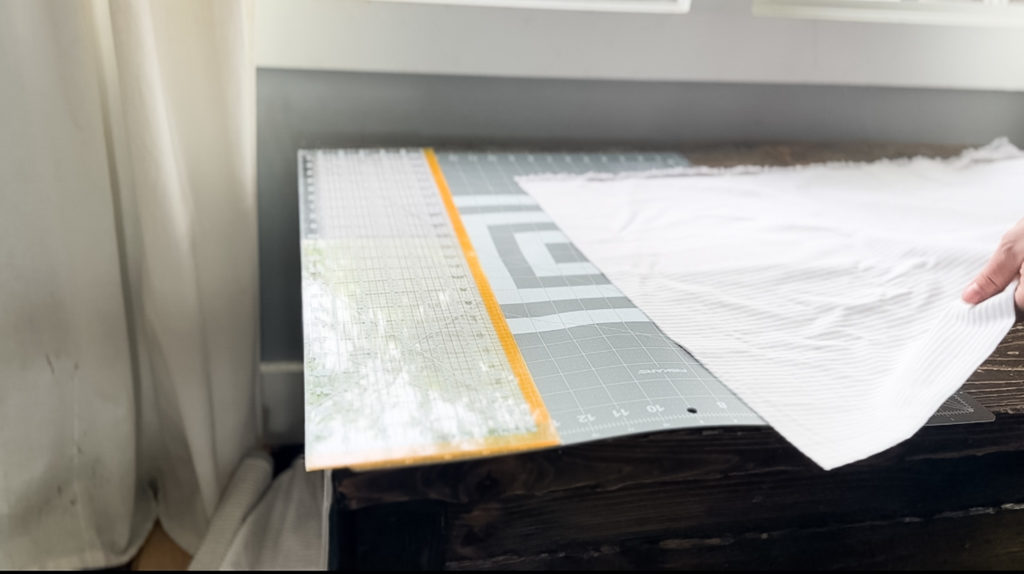


- You’ll start by cutting two rectangles in Equal size. I used the WOF by 32inches – includes hem length and the waist band again WOF by 4 inches.
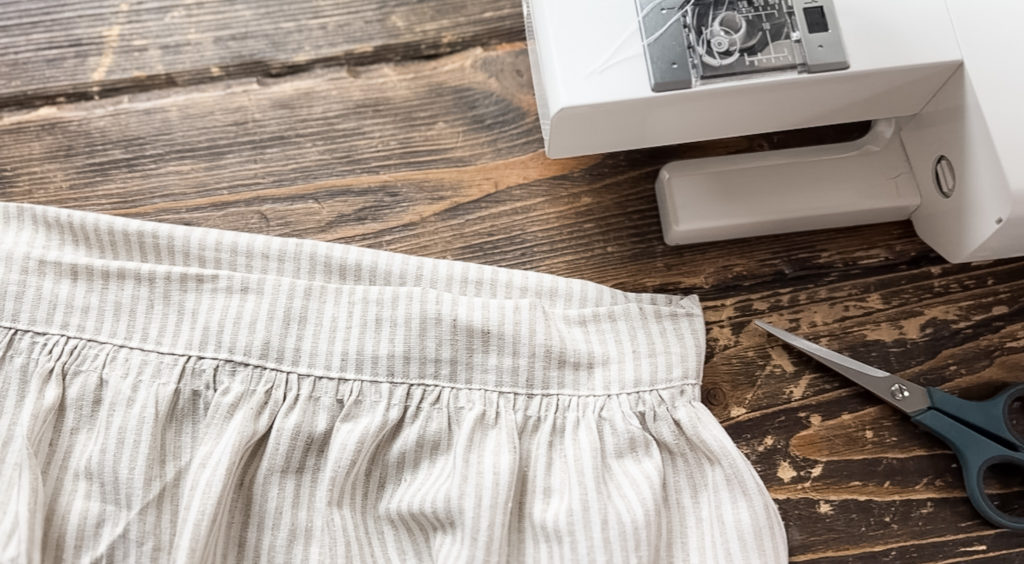
- Sew both side seams and the waist band seam
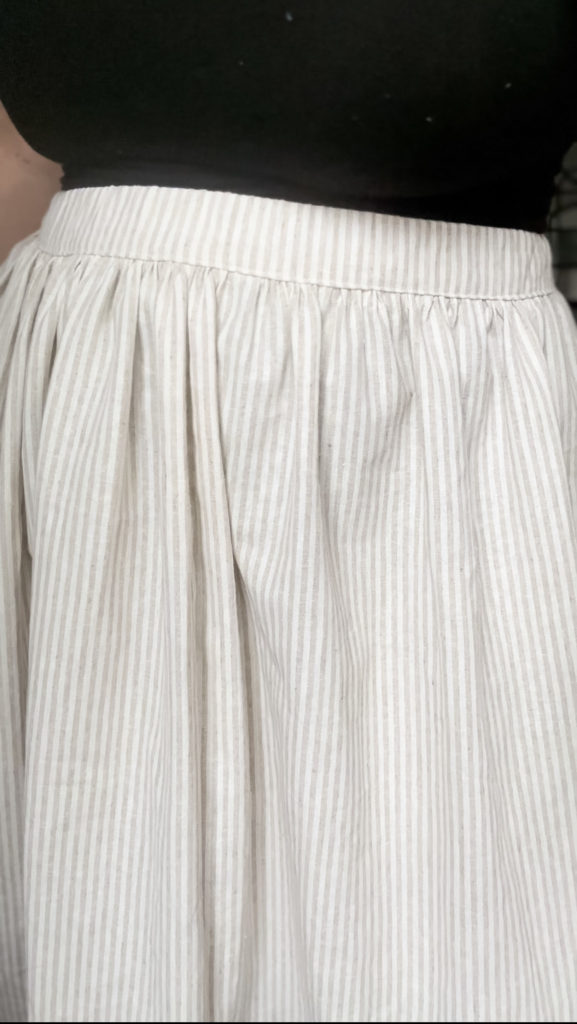
- Add two gather stitches to the waistline of the skirt. To do this you change your stitch length to the highest it can go (my sewing machine goes up to 5)
- Then you’ll pull along the gather stitches gathering the waist band
- Next you will attach the waist band to the skirt by tucking the waist band RST (Right Sides Together) and pinning in place
- Change stitch length back to normal and sew waistband to the skirt.
- Then sew a zig zag stitch on the unattached side of the waistband to protect edges
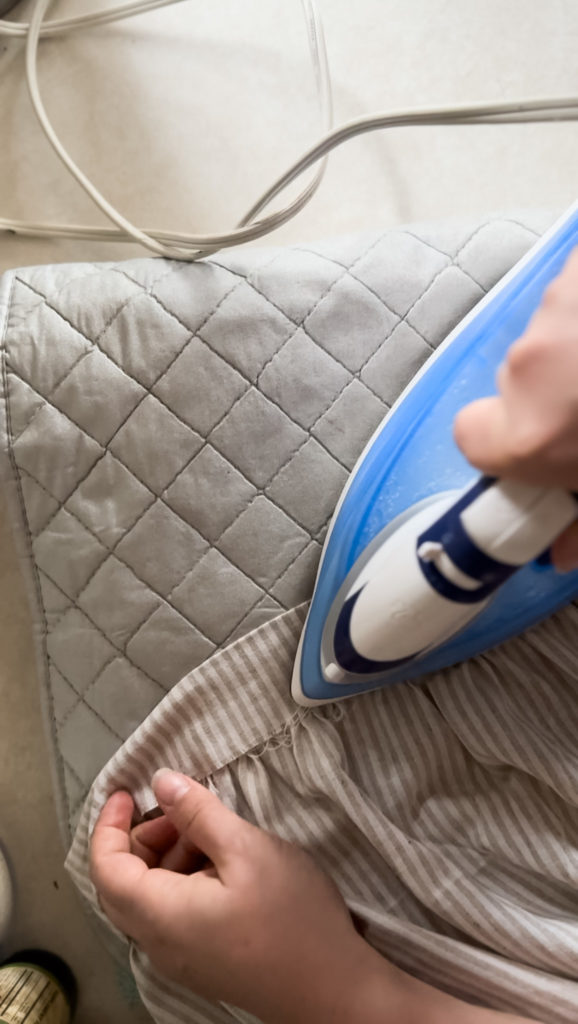
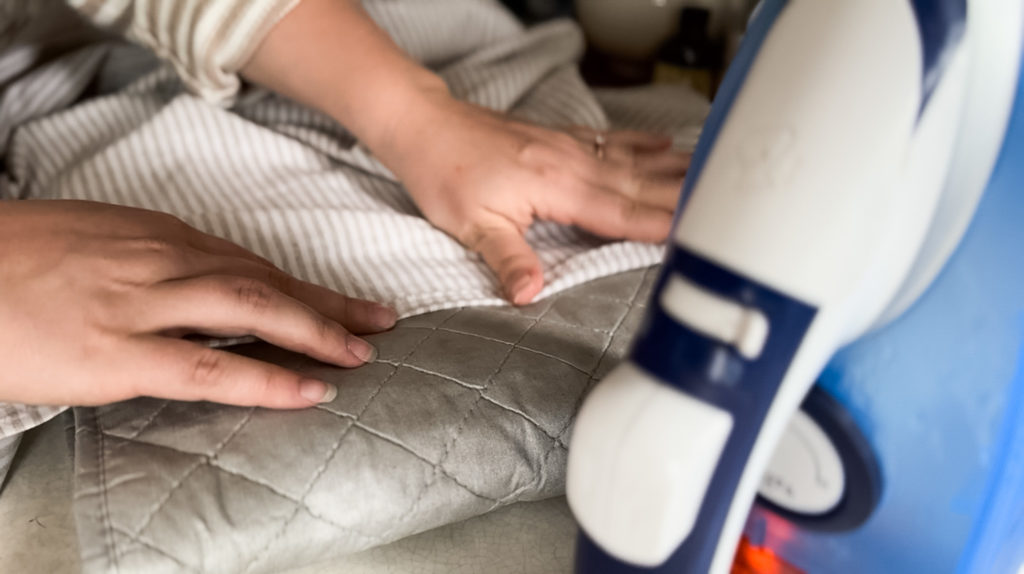
- Heat Iron and press waistband in half Covering your gathered stitches
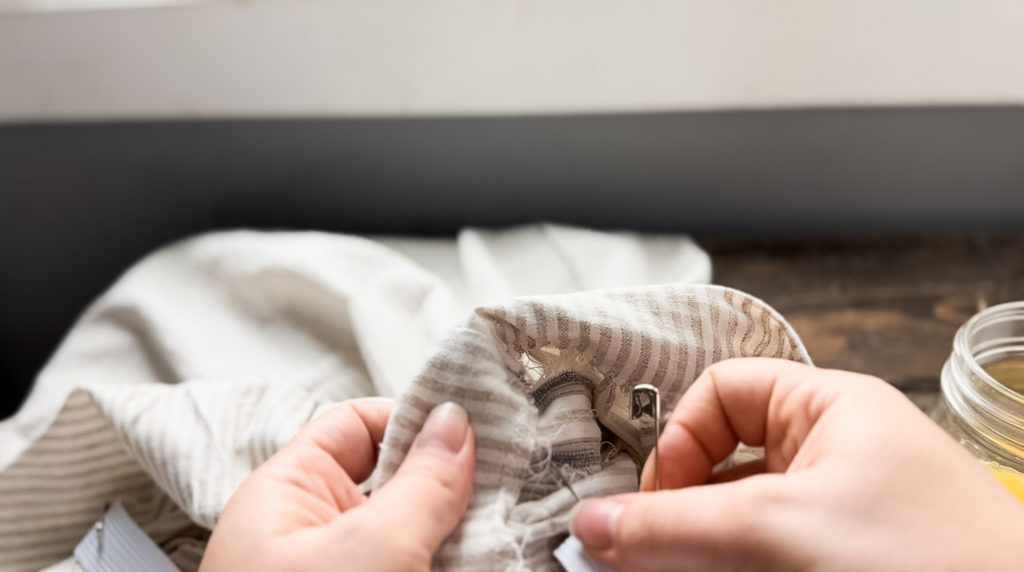
- Sew waistband in place leaving a 2-3 inch gap for elastic.
- Slide Elastic into waistband by pinning one end to the skirt and feeding another pin attached to the elastic through the waist band tunnel
- Once the elastic is all the way through zig zag stitch elastic together.
- Next stitch the 2-3 inch gap of the waistband
- Lastly Hem the skirt to your liking (I chose to do a longer Hem about 1.5-2inches)
- Enjoy your Linen Midi Skirt!


I hope you found this tutorial helpful! Please feel free to ask any questions regarding the walk through. Happy Sewing!

Looking for another clothing DIY? See how I transformed a thrifted gingham dress!