
I purchased this gingham dress second hand and have finally gotten around to making a few changes to it. If you’ve been here for a while you know I’ve challenged myself to create as much as I can from home the year. As a result, this is The Gingham Dress Transformation.

First we start off with this beautiful black and white gingham pattern linen dress. The sleeves immediately where too small for me in the shoulder area and felt like I was going to bust the seams. They were the first to go.
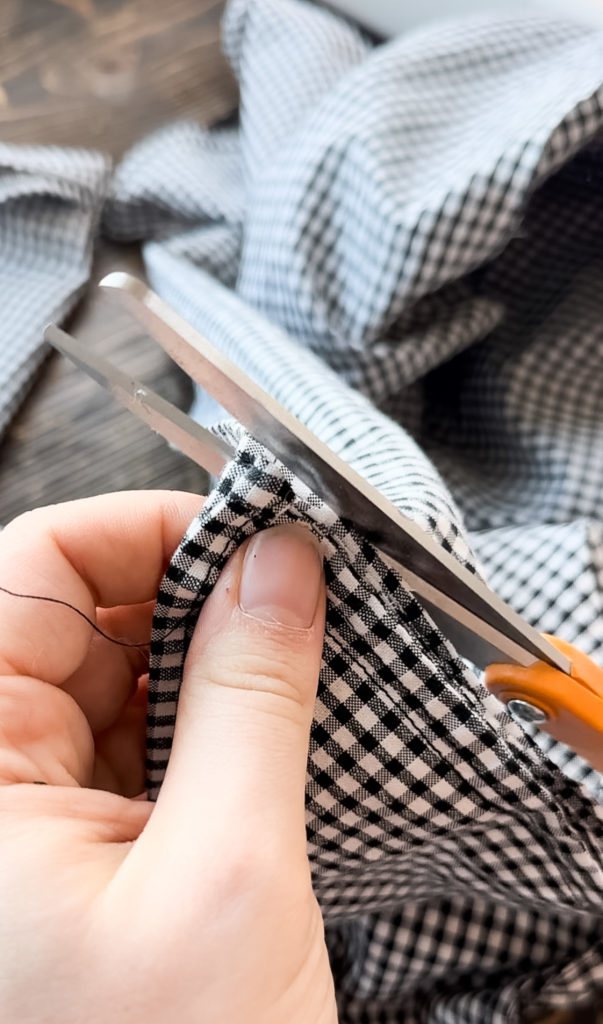
Next the neckline was not doing me any favors once the sleeves were removed, so I opted to create a square neckline. I cut the fabric first then realized I didn’t know how to eliminate the raw edges. Learned all about neck interfacing and how to attach it with this video. (Thank you Courtney from Rooney Sewing Patterns.)
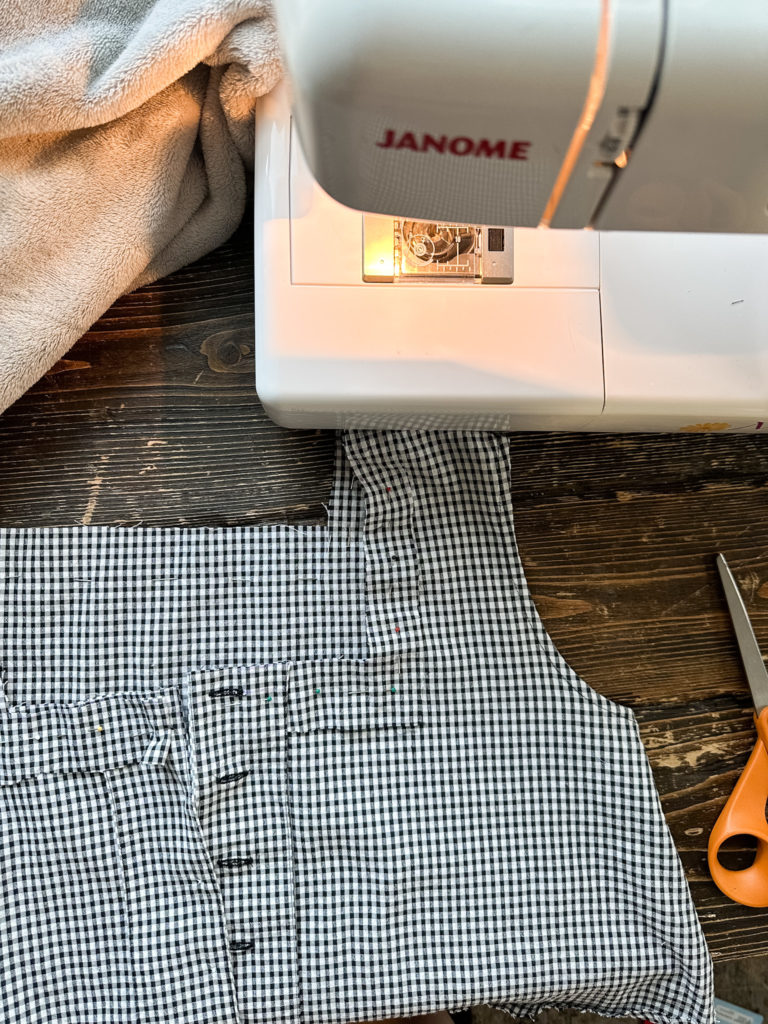
Then came the skirt. The length is fine but needed to take in the waistline. This skirt is made up of 4 panels. I opted to remove one panel to make it easy on myself vs cutting it randomly. I wanted to make sure I could still get it over my head and across my hips so I didn’t;t want to remove too much fabric.
While I was pinning the skirt and the bodice, I noticed there was extra fabric on the side seams of the bodice compared to the skirt. I tried on the dress and decided to take the bodice in 1.5 inches on each side.
Once that was complete I could attach the skirt. I used a zig zag stitch along the edges and secured the skirt to the bodice with a straight stitch. And here we are!

I’m undecided if I want to add sleeves of some sort but might wait to see how its working for me before I do that.
I’m a huge fan of making your own clothes and altering pieces to make them work for you. Read who I think making your own clothes is better here.