So you are new to quilting and don’t know where to start. You’re trying to figure it out from YouTube videos and blog posts. You have never read a quilting pattern before and you want to quit before you even start your first stitch.
Well I will say, don’t give up on quilting yet. Quilting is so unique in that there is not one “right way” to do it.
If you are anything like me, you’re instantly frustrated. I’m here to tell you that quilting is just a lot of basic stitches. You just don’t know the process and I’ll tell you the general process in a bit.
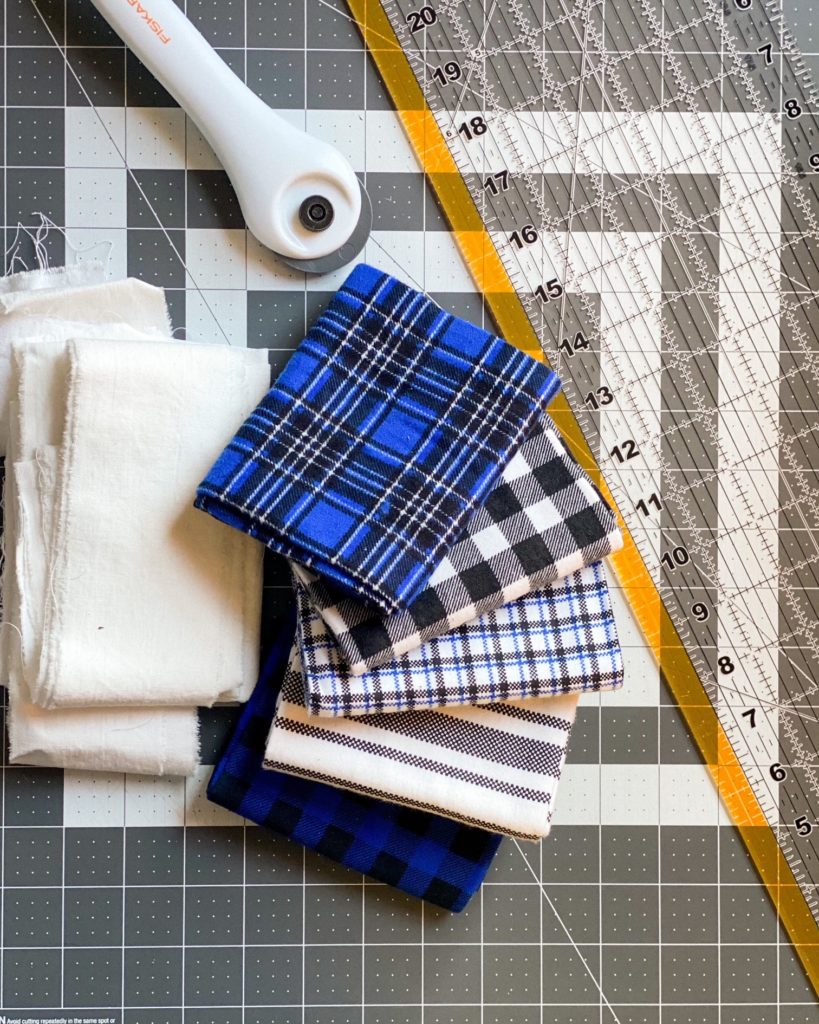
Before we get to the actual process I want to mention a few tools. These are what I would have as a bare minimum. I suggest getting a rotary cutter with a ruler, cutting mat, an iron – I would love to have a mini one but I just use a normal size, sewing machine, and a quilt pattern.
The Six Generic Steps to Quilting
- Pick your fabric. There are fabric shops that curate bundles. These are fabrics that are precut and go well together. I have a few of my favorite shops but share how I get material for a lot less in this post.
- Cut your material. This is the step that I took me by surprise. It just takes more time than I thought it would. Especially if you use material like dress shirts. Read my experience here.
- Then you move on to the piecing part (this is probably my favorite) you start to see the actual quilt top come together. It’s a lot of repetitive stitches. There is a technique called chain piecing and it makes this step go a lot quicker. You want to make sure to “press” your seams when piecing as it will allow your quilt to lay flat once its all together.
- Once your quilt top is sewn together you will need to baste it. Basting is where you combine the quilt top with the batting and your quilt backing. Think of it as layering a sandwich. There are two techniques- pin basting and spray basting. (I have only pin basted because spray basting can get pretty smelly! Learned how to do this on YouTube.)
- Now you can bring it to your machine to be quilted. You can choose to stitch in the ditch or have your seam be shown, Its up to you! I’ve tried both and prefer to sew an 1/8 in away from the ditch. I like to add some hand stitching as well – you certainly don’t need to do this either.
- Then onto the binding. This is the border of the quilt. I got this bias tape maker off of Amazon and follow @morgankellyquilts method. (Seems like the easiest way to construct binding, I have never done another method!) The way to finish the binding I learned from Suzy quilts. She has a highlight on her Instagram.
There you have it. The six simple steps for making a quilt. My biggest advice is to let go of the idea that your first quilt will be perfect. It is a new skill and the only way to learn is to make mistakes. I look at every quilt as an opportunity to hone my skill and perfect each step. Take your time. Quilting can be a lengthy process. There is no need to rush.
For more quilting tips subscribe to my newsletter, I also share my home improvement journey, life stories and personal updates! You can also find me on Instagram here!